Procédure de revêtement en caoutchouc - Processus de liaison métal-caoutchouc
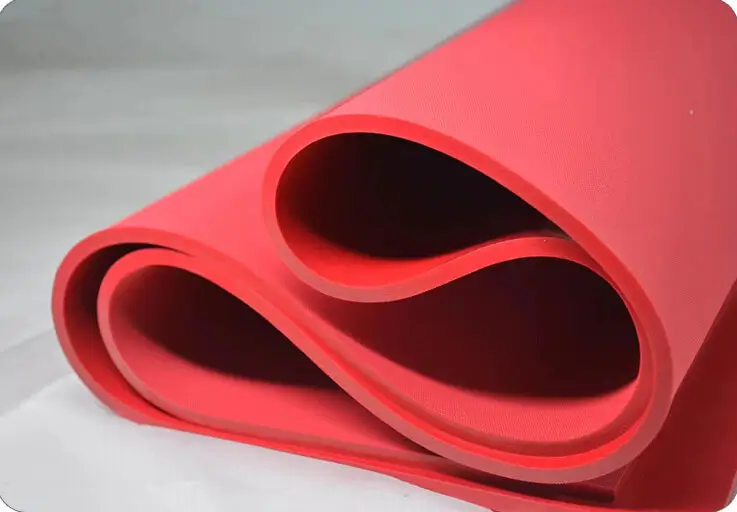
Explication détaillée de la procédure de revêtement en caoutchouc pour les matériaux en caoutchouc de type Lina-tex, y compris les étapes et les points techniques clés du processus de liaison métal-caoutchouc.
- Processus de préparation de surface métallique :
- Processus de préparation de surface en caoutchouc :
- Procédé de liaison métal-caoutchouc :
Processus de préparation de surface métallique :
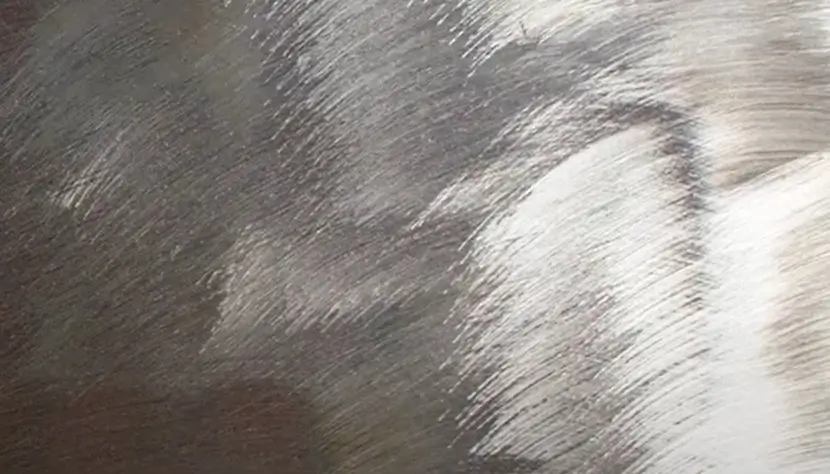
Étape 1. Meulage et dégrossissage :
Poncer, grenailler ou rendre rugueuse la surface métallique pour obtenir un profil de surface de 80 microns. Ensuite, s'assurer que la surface métallique est soigneusement nettoyée pour éliminer tous les contaminants.
Étape 2. Prétraitement de surface :
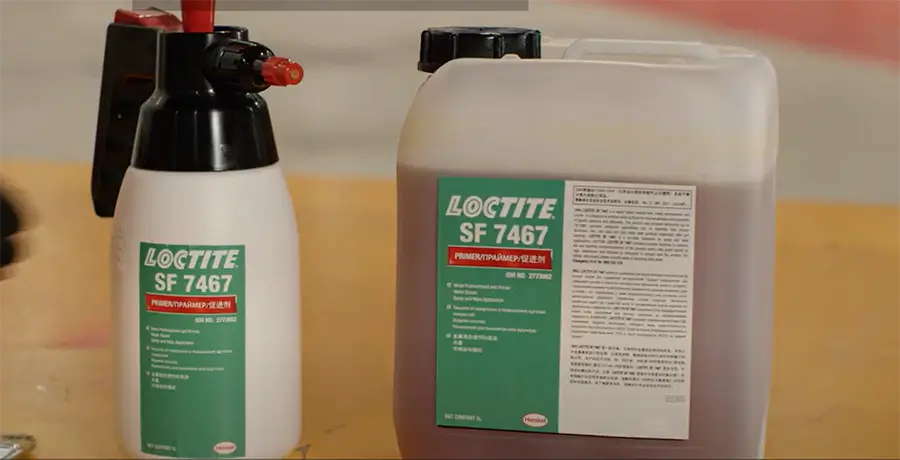
Dans les 4 heures suivant le sablage, appliquez un agent de prétraitement du métal (par exemple, LOCTITE SF-7467) sur la surface métallique nettoyée et séchée. Ce prétraitement assure une meilleure adhérence.
Étape 3. Élimination de l'agent de prétraitement :
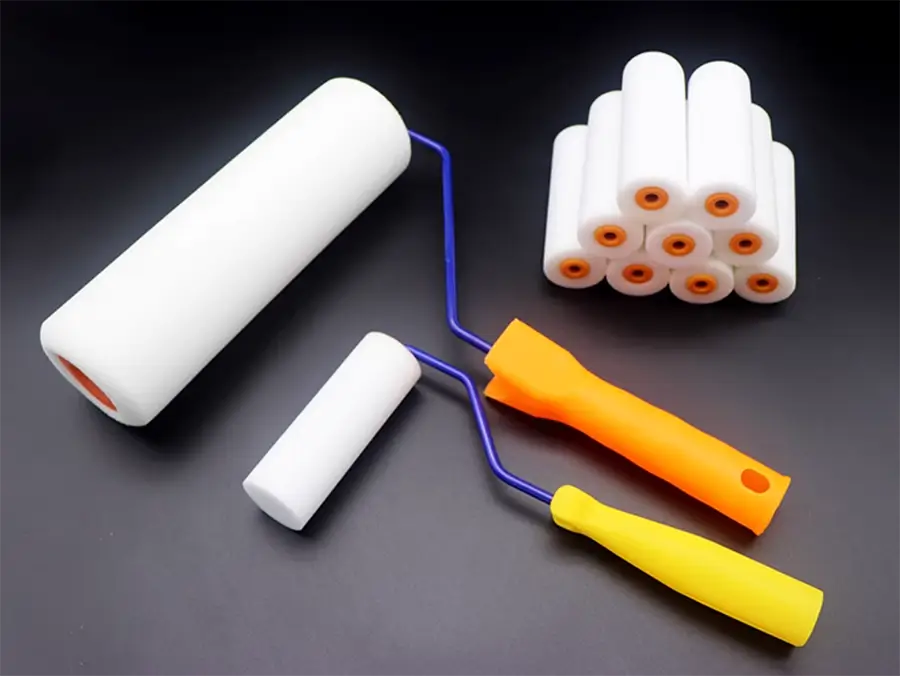
Après avoir appliqué le produit de prétraitement pendant 1 minute (ne pas dépasser 5 minutes), retirez l'excédent à l'aide d'un rouleau en mousse absorbante et de papier absorbant. Ce traitement peut protéger la surface métallique de la rouille jusqu'à 7 jours.
Étape 4. Application de l'adhésif métallique LPT1205 :
Bien mélanger le Adhésif pour métal LPT1205 Avant l'application. À l'aide d'un pinceau ou d'un rouleau, appliquez une couche uniforme sur la surface métallique préparée. Après l'application, laissez l'adhésif sécher naturellement à température ambiante pendant 60 minutes. Si possible, l'application de chaleur améliorera les performances de collage. L'épaisseur typique du film sec doit être comprise entre 5,1 et 10,2 microns. Une fois l'adhésif appliqué, assurez-vous que les pièces métalliques sont stockées correctement, à l'abri de la poussière, de l'huile et de l'humidité, et que la durée de stockage maximale ne doit pas dépasser un mois.
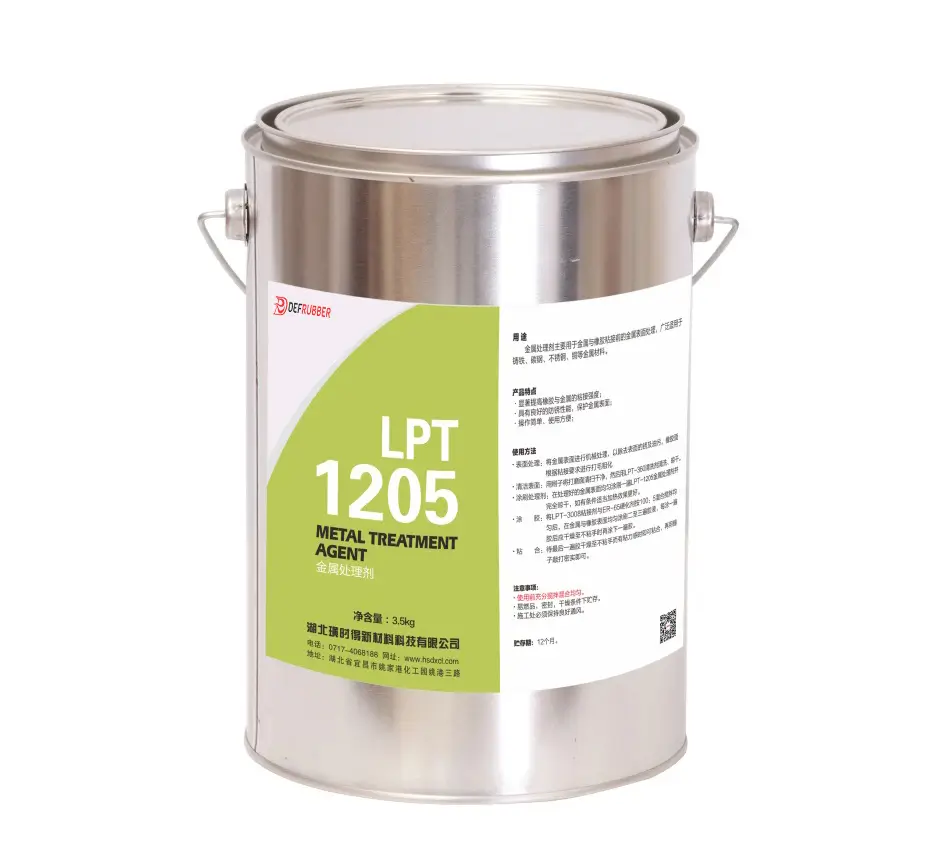
Pour en savoir plus sur les instructions d'utilisation et les consignes de sécurité du LPT1205, veuillez cliquer pour télécharger : Fiche signalétique LPT1205, Fiche technique du LPT1205.
Produits alternatifs :
Les clients peuvent également utiliser les produits CHEMLOK 205 et CHEMLOK 220. Appliquez d'abord une couche de CHEMLOK 205 sur la surface métallique traitée. Une fois complètement sèche, appliquez une deuxième couche de CHEMLOK 220.
Note:
Si une vulcanisation est nécessaire, après avoir appliqué l'adhésif, placez les pièces métalliques traitées dans le moule chaud. Remplissez rapidement de caoutchouc et fermez le moule pour éviter un durcissement prématuré de l'adhésif métallique, ce qui pourrait entraîner une défaillance. Assurez-vous que l'adhésif métallique et le caoutchouc durcissent simultanément. Le temps de durcissement doit correspondre au temps de vulcanisation pour obtenir les meilleures performances de collage.
Processus de préparation de surface en caoutchouc :
Étape 1. Affûtage:
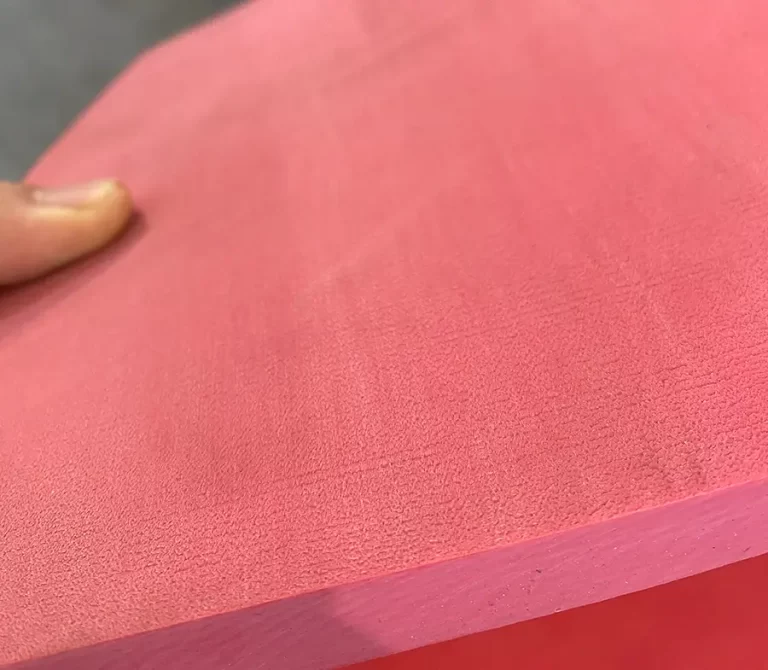
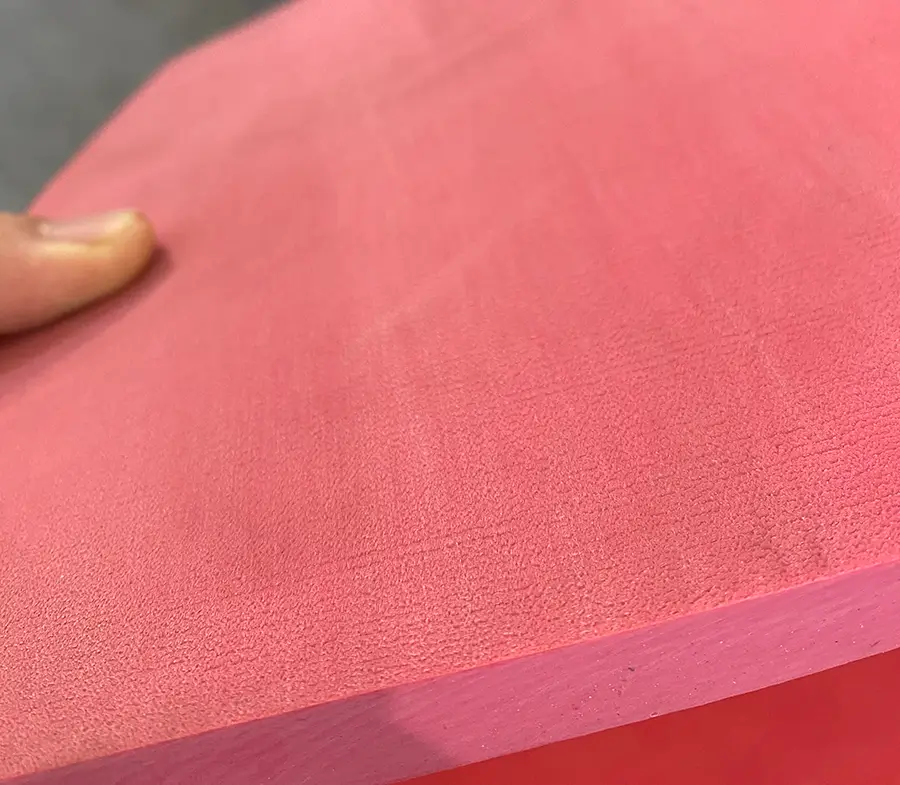
Utilisez une meule en carbure de tungstène pour rendre rugueuse la surface de liaison en caoutchouc non contaminée. Pendant le meulage, veillez à ne pas polir ou brûler le caoutchouc. Après le meulage, nettoyez soigneusement la surface en caoutchouc. Si le caoutchouc a été prétraité avec un traitement de ponçage unilatéral en usine, aucun autre traitement n'est nécessaire.
Étape 2. Nettoyage et séchage :
Nettoyez la surface en caoutchouc avec Agent nettoyant LPT360 pour éliminer la saleté et les résidus. Après le nettoyage, laissez la surface sécher naturellement ou appliquez de la chaleur pour la sécher complètement, en vous assurant que le caoutchouc est exempt d'humidité.
Étape 3. Couper le caoutchouc :
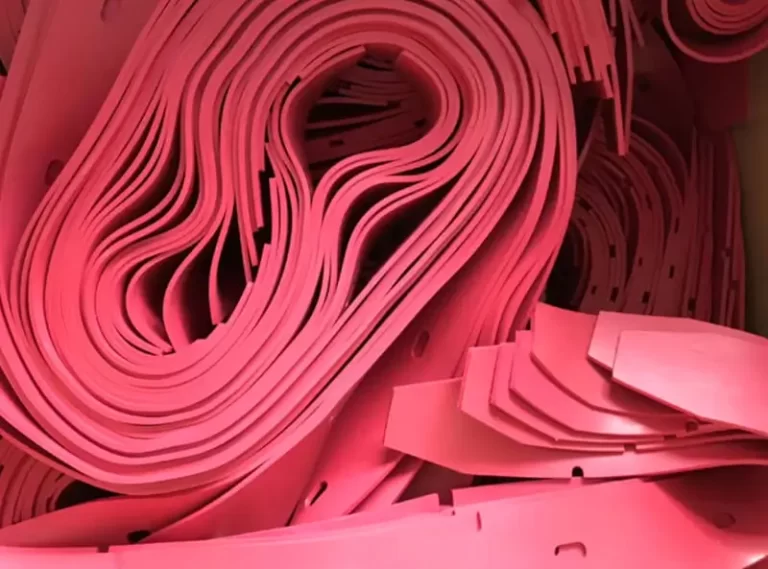
Marquez et coupez le caoutchouc dans les formes et tailles requises.
Traitement des articulations :
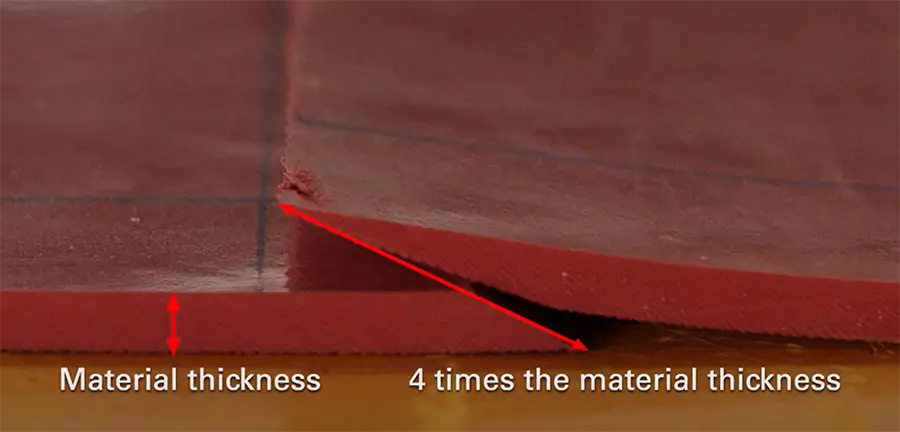
En règle générale, un joint à recouvrement trapézoïdal standard est utilisé, garantissant que la longueur du chevauchement incliné au niveau du joint est au moins deux fois supérieure à l'épaisseur du caoutchouc.
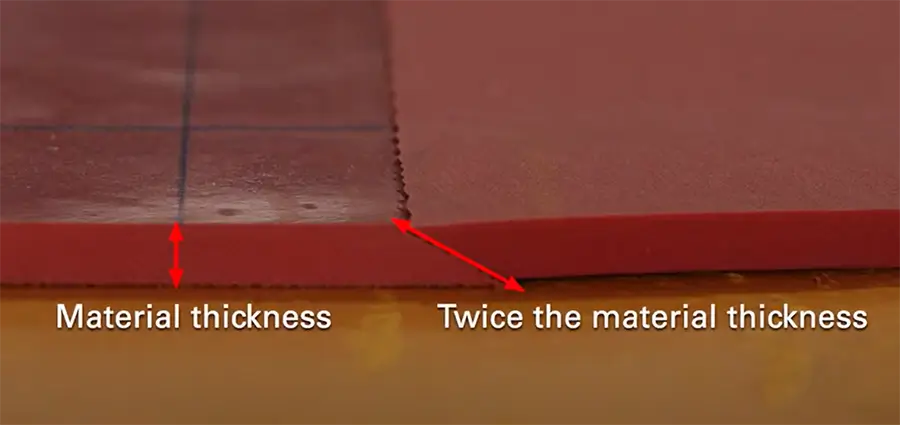
Pour les applications où l'environnement est acide ou hautement corrosif, comme les revêtements de réservoirs d'eau, utilisez un joint trapézoïdal superposé, où la longueur du chevauchement incliné doit être quatre fois supérieure à l'épaisseur du caoutchouc.
Étape 4. Application de l'agent de traitement du caoutchouc :
Verser Agent de traitement du caoutchouc LPT366 Composant B dans le Un composant et bien mélanger jusqu'à ce que B soit complètement dissous. Remarque : L'agent de traitement mélangé doit être utilisé dans les 4 heures.
Après avoir mélangé, appliquez une couche uniforme de l'agent de traitement du caoutchouc sur la surface de collage préparée du caoutchouc. Laissez sécher naturellement ou accélérez le processus de séchage avec de la chaleur.
Pour en savoir plus sur les instructions d'utilisation et les consignes de sécurité du LPT 366, veuillez cliquer pour télécharger : Fiche signalétique LPT 366 ,LPT 366 TDS .
Procédé de liaison métal-caoutchouc :
Étape 1. Mélange de l'adhésif :
Mélanger Adhésif LPT3008 et Agent de durcissement ER65 dans un rapport pondéral de 100:5. Assurez-vous que le mélange soit bien mélangé.
Note: La colle mélangée doit être utilisée dans les 3 heures. Chaque fût de 3,5 kg de Adhésif LPT3008 couvre environ 4 mètres carrés de caoutchouc.
Étape 2. Application d'adhésif sur des surfaces en caoutchouc et en métal :
Appliquez l'adhésif en deux couches, en veillant à ce que chaque couche soit uniformément répartie pour assurer une pénétration complète de l'adhésif dans la surface à coller. Après la première couche, laissez-la sécher complètement avant d'appliquer la deuxième couche. Cette opération peut être effectuée en une journée ou sur deux jours.
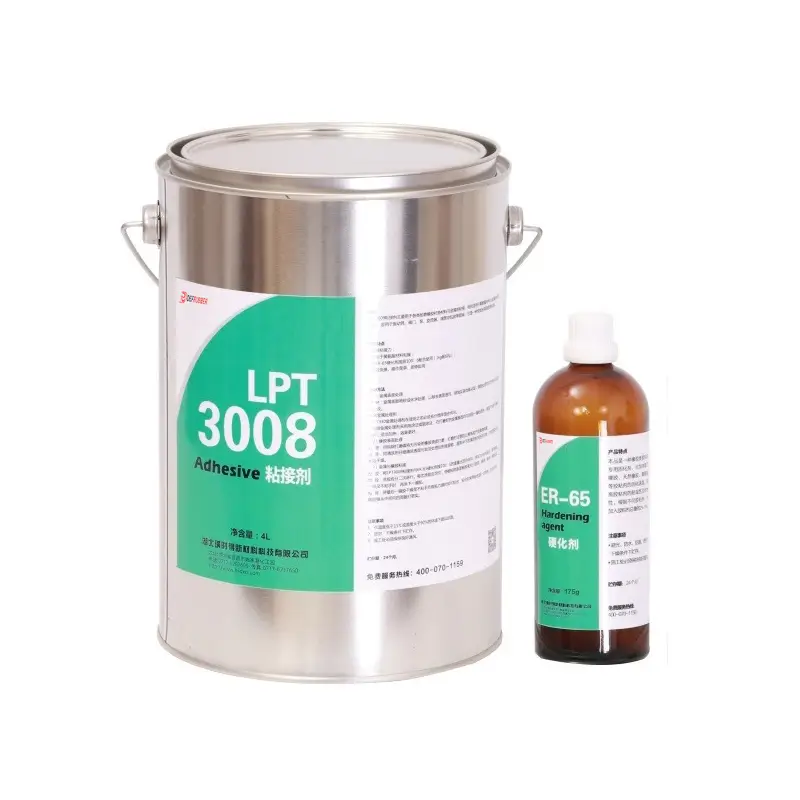
Pour en savoir plus sur les instructions d'utilisation et les consignes de sécurité du LPT 3008, veuillez cliquer pour télécharger : Fiche signalétique LPT 3008, LPT 3008 TDS, Fiche signalétique ER 65.
Étape 3. Collage:
Une fois que la deuxième couche est sèche au toucher et ne colle plus, commencez le processus de collage. Alignez les deux surfaces de collage et pressez-les ensemble. Utilisez un marteau en caoutchouc pour taper du centre vers l'extérieur, en vous assurant que les surfaces sont bien collées et que toutes les poches d'air sont éliminées.
Étape 4. Post-collage :
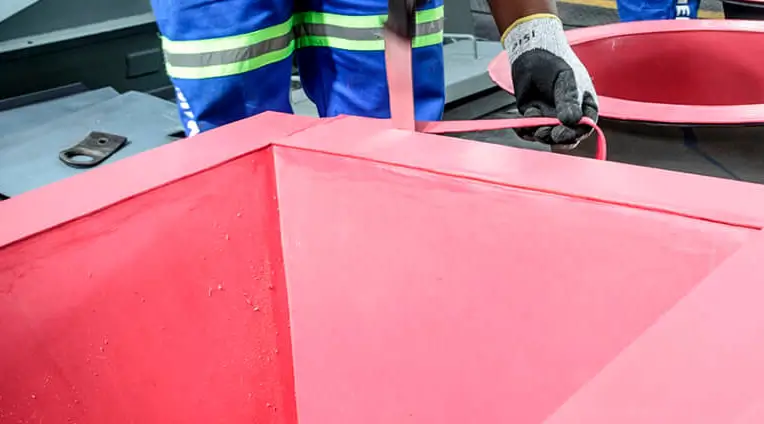
Une fois le collage terminé, attendez au moins 3 heures avant de procéder à toute opération de découpe ou de meulage du caoutchouc. Laissez reposer les matériaux collés pendant au moins 24 heures pour garantir une résistance de collage suffisante.

